
95 Suzuki Savage
Ultimate Budget bobber Build

First Show
I have received the official invite for the Savage to be shown at the Revival Handbuilt Motorcycle Show in Austin Texas. Very excited! I will post updates and pictures on social media as I get time.
***UPDATE*** Due to personal reasons, I will not be attending the handbuilt show this year
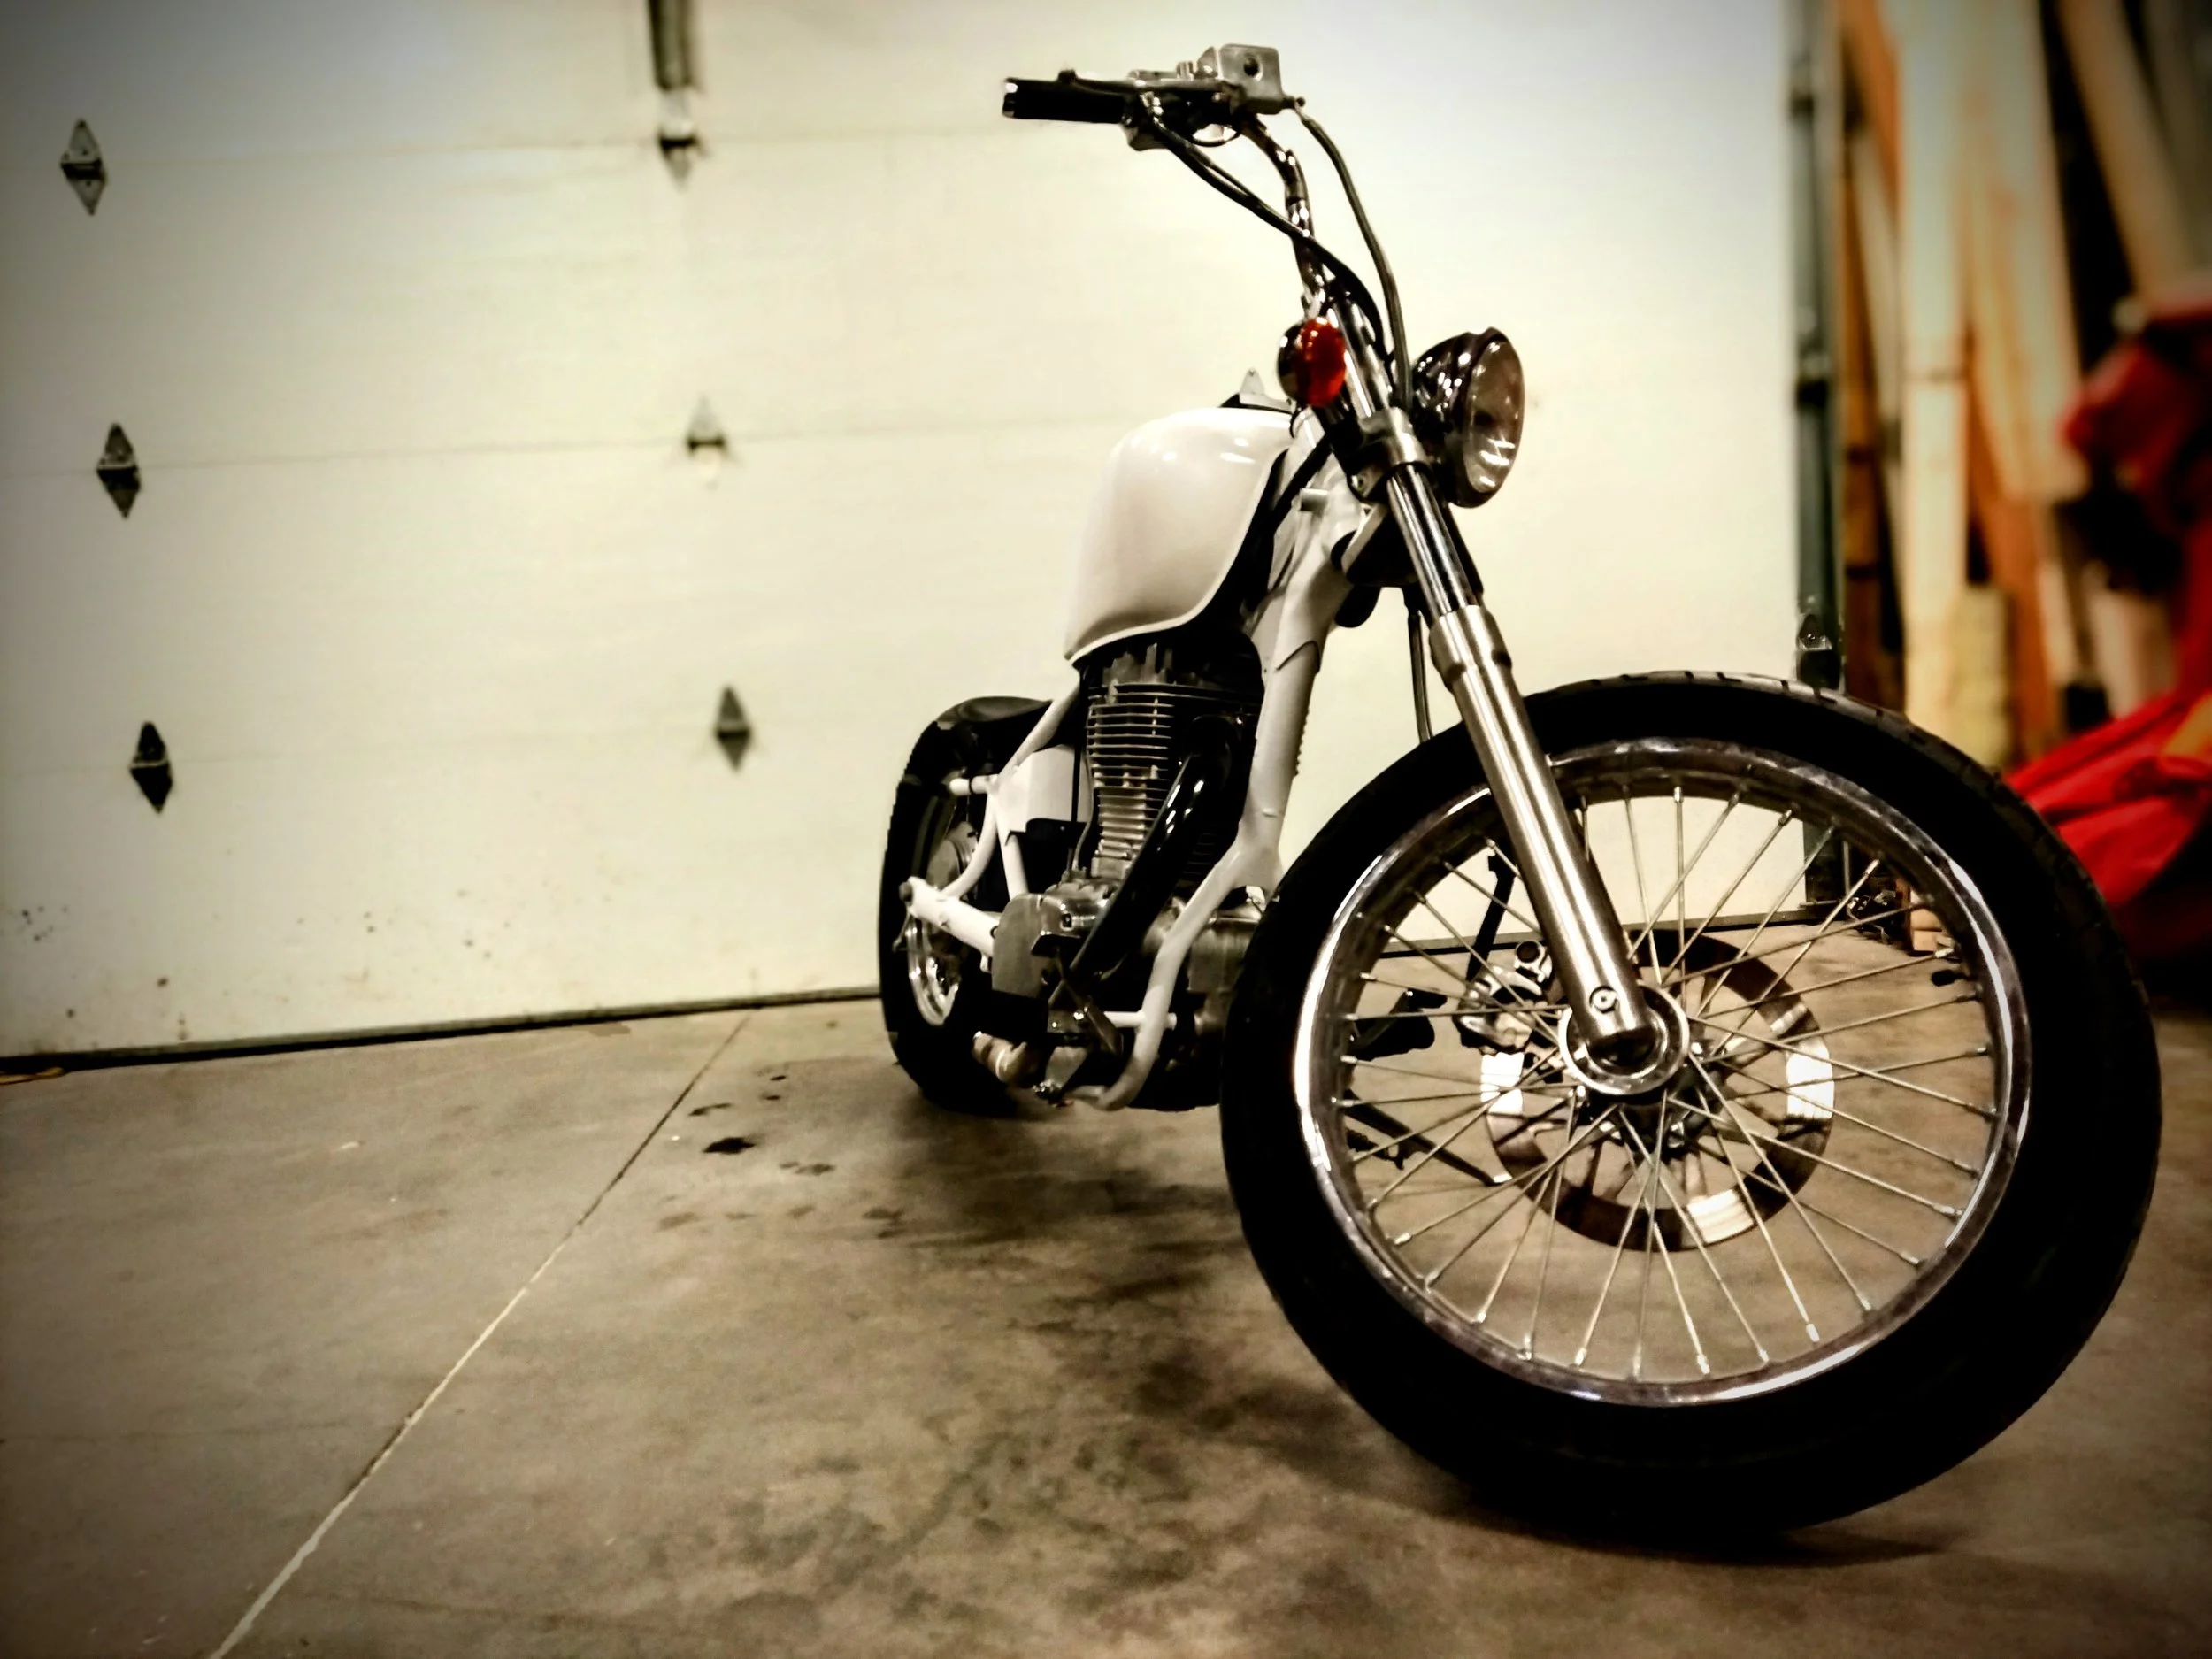
Final Product
The exhaust under went some surgery as well. For the resonator to work, I had to chop out the internal pipe past the bend, seal it and reweld.
The final assembly went well! No hang ups, no surprises.


“Easy Rider” whiskey bottle cork for bar ends on the custom handlebars.


Origins
For $250, I couldnt say no. I knew nothing about this model of bike before I bought it but I grew to appreciate alot about it. The LS650 is a single cylinder, air cooled motor. Minimal electronics, simple geometry, what else could you ask for?
Picked this up in the winter or spring of 2022, and did not accomplish much on it for about year.


Strip, clean, dream
Tare apart all unnecessary parts and components and start with a clean slate. This bike already had good bones from the start, so I knew, this was going to be a fun build as long as the motor ran.
After stripping it down, I immediately think “hard tail” so I dropped the rear shocks and start the staring procedure! Unfortunately, I do not have alot of pictures of the build process of this bike.

Hard Tail
Once I realized that this build could be the ultimate budget build, I made it a point to find creative ways to reduce the cost. Utilizing the factory swing arm is not a recommendation, but for a bar hopper, bobber, budget build and knowing that the weight of this bike wasn’t going to be much of an issue, the belt drive, all things considered, the swing arm was staying… with added struts.


The right strut was straight forward, single radius bend. The left side was quite a bit different. I needed at least two twists in the strut so I could grab the left leg that was jutted outwards and so I could make room for the belt drive. At first the belt cleared the pipe, It wasn’t till later, I found that under a load, it did not.

Assembly
There were a few steps between the last one and this one that I did not take pictures of like the motor time chain tensioner almost KOing the motor, modifying the chain tensioner and reassembling the motor with the new timing chain.
Built a battery trey and compartment for the electrical plugs right under the seat.

disassembly
Once I was able to get the bike running good, It stayed raw for awhile. I wanted to make sure I wouldnt run into issues down the road. Once I fixed all the grimmlins, it was down to paint. I stripped it down to the frame (took about an hour) and had the frame sand blasted.
I wanted to do the paint myself to cut on the total cost of this so I waited for a warm(ish) day. It was winter in Wyoming… warm days in winter are few and far between.